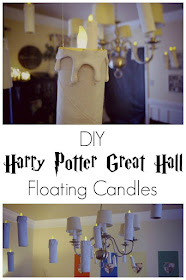
As promised, here's the tutorial for my Great Hall floating candles for our Harry Potter party.
Keyword here: sloppy. They can be sloppy! It's okay! It will be dark(ish), they will be elevated, and everyone will love them even if they are a mess. That was my approach and it worked out, so trust me on this.
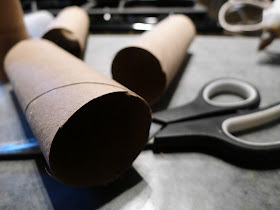
The first step is to collect paper towel rolls for a few months or weeks, depending on how many candles you want. Next, cut each paper towel roll in half--don't worry about being exact or even neat.
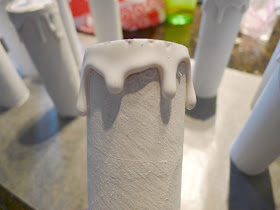
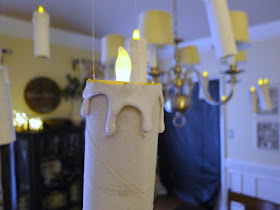
Next, break out the hot glue and create drips around the top (the cut end) of the cardboard roll. Just thickly apply hot glue, keeping the candle as straight up as possible so it drips nicely.
The next step is to spray them. Again, sloppy was my mantra. I laid it on thick and let it drip some, because, after all, these are drippy candles. I used a matte white paint but I also think a dark color or black could be really cool.
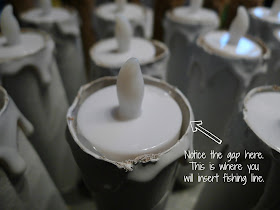
After spraying and allowing them to thoroughly dry, break out your hot glue again. Now it's time to glue your battery-operated tealight candles into the top of the cardboard sleeve. I used these lights
I glued them in on one side, and then reinforced on the other side with a generous dollop of glue. You will want to leave some openings for the fishing line later.
Once the tealights are in there, it's time to glue in your fishing line. This is the most maddening step, but its not too hard. I pre-cut my line to about 5-6 feet each. On each candle I dropped a big bead of glue into the cardboard sleeve on opposite sides, then inserted about 1/2" of each end of the fishing line, to create a clear loop about three feet long.
I tried to make them on exactly opposite sides of the candle so they would hang straight, with varying success. The glue held really well, though.
Now you're ready to party! I just used thumbtacks to hang them from our ceiling and it worked like a --ahem-- charm. Have fun!


How do u turn these on and off
ReplyDeleteThat's such a great question--you must have realized that when they are glued in it is hard to reach the on/off switch. I actually used a butter knife to reach in there and toggle it on and off. Thanks for the question!
DeleteDid you cover the bottom?
ReplyDeleteNope! And they looked fine because they are so dark from the tea light filling up the gap up top:)
Delete